Thursday, March 3, 2011

When He Fends For Himself: Freedom Pancakes

I believe in this space it's been noted that I make breakfast on the weekend from time to time. The past two weekends the wife has convinced me to put something together in the morning 3 out of 4 days. My repertoire is just eggs, pancakes, and french Toast. I don't put much thought into sides like toast, fruit, or potatoes. All you're gonna get is the main dish.

With that being said, I present you an actual creative breakfast. The wife asked me, "What will we have for breakfast? Pancakes? French Toast?" And I thought, "....both." Not surprisingly, we don't have pancake mix in the house so I had to open up The Joy of Cooking and create the batter from scratch! Making the pancakes was pretty simple and I was confident they would turn out tasty because I added some Mexican vanilla and some cinnamon.


Now it was time to make the French toast and here is where I kicked it up a notch. Instead of taking out the loaf of bread I used the pancakes instead. That's right. I took out a couple of eggs, mixed them in a bowl, and started dipping the cooled pancakes. I learned pretty early in the process that you need to give the pancakes a good soak in the egg. The pancakes aren't as porous as a slice of bread so you need to allow time to let the egg penetrate the smooth surface. After that, the pancakes went back into the frying pan and out came pancake French toast.


I thought the "pancake French toast" name was kind of lame. Even though I thought the trend to replace "French" with "Freedom" when France was initially against the invasion in Iraq was detestable, I decided on naming my creation "Freedom Pancakes" as an ironic joke. In the end, the name didn't matter because they turned out to be really good! I was kind of surprised and quite pleased. You should totally try this!


Because it was so good I started thinking of what else I could do. Step 1, make pancakes. Step 2, make French toast of them. Step 3? Who knows! But it reminded me of this SNL sketch and made me laugh.


 TACO TOWN!

Wednesday, March 2, 2011

Healthy Snack Wednesdays: Goat Cheese (Yes You Can Make it At Home)

This is the last official week of the office weight loss challenge! Our final weigh-in will be on Friday and the top three 'losers' will be awarded their prize. I'm still down 4 pounds, a respectable amount for eight weeks of incorporating healthier eating and more activity into my daily routine. I started wearing a pedometer and its just a small tool to motivate me to be more active. If I see that I don’t have enough steps in, I’ll take the stairs during my afternoon break or walk the long way to the train. It’s a great way to burn a few extra calories. I've hit 12,000 steps on a few days (almost 5 miles). As a comparison, most people with desk jobs have somewhere between 3,000-5,000 steps a day.

Also, don’t forget to read through the post to find out last week’s winner of the MultiGrain Cheerios prize pack!

One of the other things I've been doing lately is trying to be more thoughtful about my food purchases. And making an effort to use all of the food we buy. I've been cooking a lot from the pantry and trying to use up everything in the freezer and refrigerator. For this week's healthy snack post, I have two easy and delicious recipes to share.

Last week I came across a recipe (more of a technique) for making goat cheese at home. I was instantly intrigued - fresh goat cheese is one of my favorite cheeses - and I picked up a half gallon of goats' milk from Whole Foods and a few lemons for juicing.  I followed the recipe exactly and was impressed with results. It was very similar to making ricotta (part of my dinner party). The recipe is pretty simple, goats' milk and an acid, and any mix-ins you like for flavoring. I left mine plain and paired it with honey for a snack. I also used it to top huevos rancheros inspired eggs.

Homemade goat cheese with local honey 
and a whole wheat cracker

Whole wheat tortilla, fried eggs, avocado, goat cheese, 
hot sauce, and cilantro with a side of beef bacon.


I still had half the milk leftover and decided to whip up a second batch with my own twist. For this batch I swapped in lime juice for the lemon juice. And for my mix-in I used fresh chopped cilantro. The bright flavors of lime and cilantro was a perfect match for the creamy cheese.


Step by step pictures for easy homemade goat cheese

The cheese is incredible alone, but I had some other ingredients hanging out waiting to be used for something creative. From the freezer I grabbed a bag of whole cranberries. From the refrigerator I grabbed orange peels and limes. The other day I had an orange for a snack and it struck me that I waste precious zest everytime I throw the peel away. I peeled off the flavorful outside and saved it to add to recipes later in the week.

Looking at the ingredients, I decided to make a zesty and tangy citrus cranberry sauce. There’s not much to making cranberry sauce. Just be sure you have a good heavy sauce pot and a stain-proof spatula! You add your ingredients, cook until it’s your desired consistency and then enjoy! I didn’t add a lot of sugar to this version because I wanted it to be more savory to pair with the cheese. The resulting sauce is bright and indeed zesty! This would be great with roasted turkey or chicken, as a sandwich condiment, or on a cheese plate. I took pictures at work on my phone, please excuse the lighting.


The smooth, fresh taste of the goat cheese paired well with the tanginess of the cranberry sauce. The goat cheese has also been a great addition to breakfast. I made a sandwich with a whole wheat sandwich thin, cilantro-lime goat cheese, a fried egg, and a big handful of spinach.


Easy Homemade Goat Cheese
Inspired by recipe on Kiss My Spatula
1 quart goats' milk (just pasteurized, not ultra-pasteurized)
1/4 cup lemon or lime juice
1 tablespoon chopped cilantro (or other herbs)
Salt to taste

Supplies Needed:
Thermometer (candy, deep fry, or instant read)
Cheesecloth
Kitchen twine, or string
Heavy bottomed pan
Stirring spoon
Ladle
Colander
Large bowl

Line a colander with a few layers of cheesecloth
Set over a large bowl
Cut kitchen twine for tying

Add milk to a heavy bottomed sauce pan
Heat over medium heat until temperature reaches 180 degrees F, stirring occaisionally
Remove from heat and add citrus juice
After about 15-20 seconds the milk should look cloudy and you should see little specks separating
Ladle carefully into the cheesecloth lined colander (slowly, so it doesn't overflow)
Once all milk is in, pull together the four corners and tie with twine
Tie to a spatula handle and hang over a clean bowl
Let hang for about an hour, until consistency is soft, but not dry
Add to a bowl and mix in any herbs and seasonings
Will stay in an airtight container in the refrigerator for a few days (if you don't eat it all first!)

Zesty Cranberry Sauce
1/2 pound fresh, whole cranberries (rinsed)
1/4 cup sugar
Juice from 2 limes
1 tablespoon finely diced orange zest
1/4 cup water

Mix all ingredients together in a medium sauce pan
Bring to a boil over medium-high heat
Reduce heat to medium and cook for 10-15 minutes, stirring constantly
The cranberries will burst and the mixture will begin to thicken
Serve immediately or cool completely before storing in the refrigerator

Giveaway Winner!
I used Random.org to select a winner from the 24 entries for the MultiGrain Cheerios prize pack! For complete randomness, the hubby ran the numbers and sent me the result. The winner is....


Congratulations to Renee! She said:

"Stairs, stairs, stairs! That is my commitment to being healthier! And to do 1 week of food logging to see exactly what kind of calories I'm taking in".

Congratulations Renee, hope this stylish gym bag and water bottle help you reach your goals!!

Thursday, February 24, 2011

Fatty Friday: Flour Sticky Sticky Buns

All these Healthy Snack Wednesday posts have got me craving a little sugar! Enjoy this Fatty Friday post as a little treat! 

On a trip to the bookstore last week, I noticed a delicious looking book on the corner of a table by the register. I didn’t expect to see it there, but as soon as I saw it I knew I had to bring it home. The book? Joanne Chang’s Flour: Spectacular Recipes from Boston’s Flour Bakery and CafĂ©. Since the book came out, I’ve been seeing pictures of all the beautiful creations being made in kitchens across the internet.

I brought the book home and couldn’t decide where to start. I narrowed it down to breakfast treats and asked the hubby to pick a page number between 40 and 102. After the first pick that landed on a story page, the second pick was a definite winner. Page 85 is full-page color spread of the world famous, Throwdown winning sticky sticky bun.

I studied the recipe, and the required basic brioche recipe, and planned my baking schedule. When you add in the brioche making, proofing, rolling, rising, and baking this is quite a time commitment. I broke up the recipe into a few different steps. First, making the goo (unbelievably delicious caramel sauce). Second, making the dough and letting it proof overnight. Third, making half into a brioche loaf and setting it aside to rise. Fourth, rolling and assembling the sticky sticky buns and letting them rise before baking. Finally, baking the sticky buns and then the brioche loaf a few hours later. Rather than repost the recipe, you can find it over on the Food Network. Instead, I’ll show you how much fun I had tackling this baking challenge!


For daily cooking I usually add a dash of this and a splash of that. But for a recipe like this I wanted to be as precise as possible. My new digital scale came in handy for measuring all of the dry ingredients for the dough. I did my best to follow the well-written instructions and the results were fantastic.

Not too much to report on the aptly named goo. A few sticks of butter along with brown sugar, honey, heavy cream, and a few other ingredients makes for a dangerously addictive substance. The goo is sweet, salty, rich, and just plain delicious.


I measured out all my ingredients for the brioche dough and fired up the KitchenAid Mixer. What the book fails to mention is that your mixer might seem like it’s going to catch on fire as you work the dough. The sturdy dough gave my trusty red KitchenAid quite a workout and I stood and watched it to make sure it didn’t burst into flames! I set the dough aside to proof overnight in the refrigerator and got some rest before the big baking day.

The next morning I took out the dough and split it for the recipes. Using a rolling pin and all my upper body strength, I rolled out the sticky sticky bun dough into the appropriate size and thickness. Then, I coated the dough with a mix of sugar, brown sugar, and toasted pecans.


I surprised myself by how well I was able to roll the dough into a tight log. A few quick slices with a sharp knife and the rolls were ready for another rise.


While the rolls puffed up in the dish, I got in a pre-sticky sticky bun workout. I followed the baking and cooling instructions and patiently waited for the buzzer indicating it was time to eat. I think I actually drooled over the sticky sticky buns as I put them on a serving platter for photos.


This was the most incredible sticky sticky bun that I have ever eaten. So incredible that I saved one to take to work and packed the rest for the hubby to take to work. These could easily wipe out the results from Healthy Snack Wednesdays.


Lunch


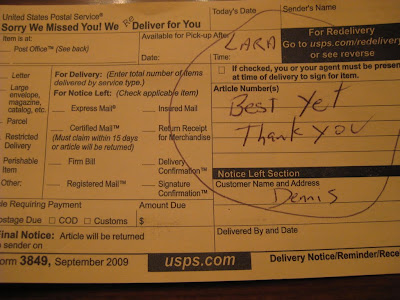
Whenever I bake, I always pack up a piece or two for our letter carrier, Dennis. We still get our mail delivered to a box right next to the front door. When we first moved in four years ago, Dennis introduced himself and told us that he had been on the route for over 20 years. He knows the ins and outs of the neighborhood and is around when we're at work. When you've got someone like that, you want to treat him right. I leave him Halloween candy, brownies, cookies, or whatever else I’m baking. He usually scribbles a thank you note on the back of a piece of junk mail, or says thanks when we see him on Saturdays. This week I left him a sticky sticky bun and a few napkins. Judging by the note I got in the box today, I think this baking project was a success!


Thanks to Joanne Chang for such a beautiful, well-written recipe (and book). I can’t wait to pick a random page and try out the next treat! Although I might skip straight to the cornmeal lime cookies I bought the last time I was in Flour 3.

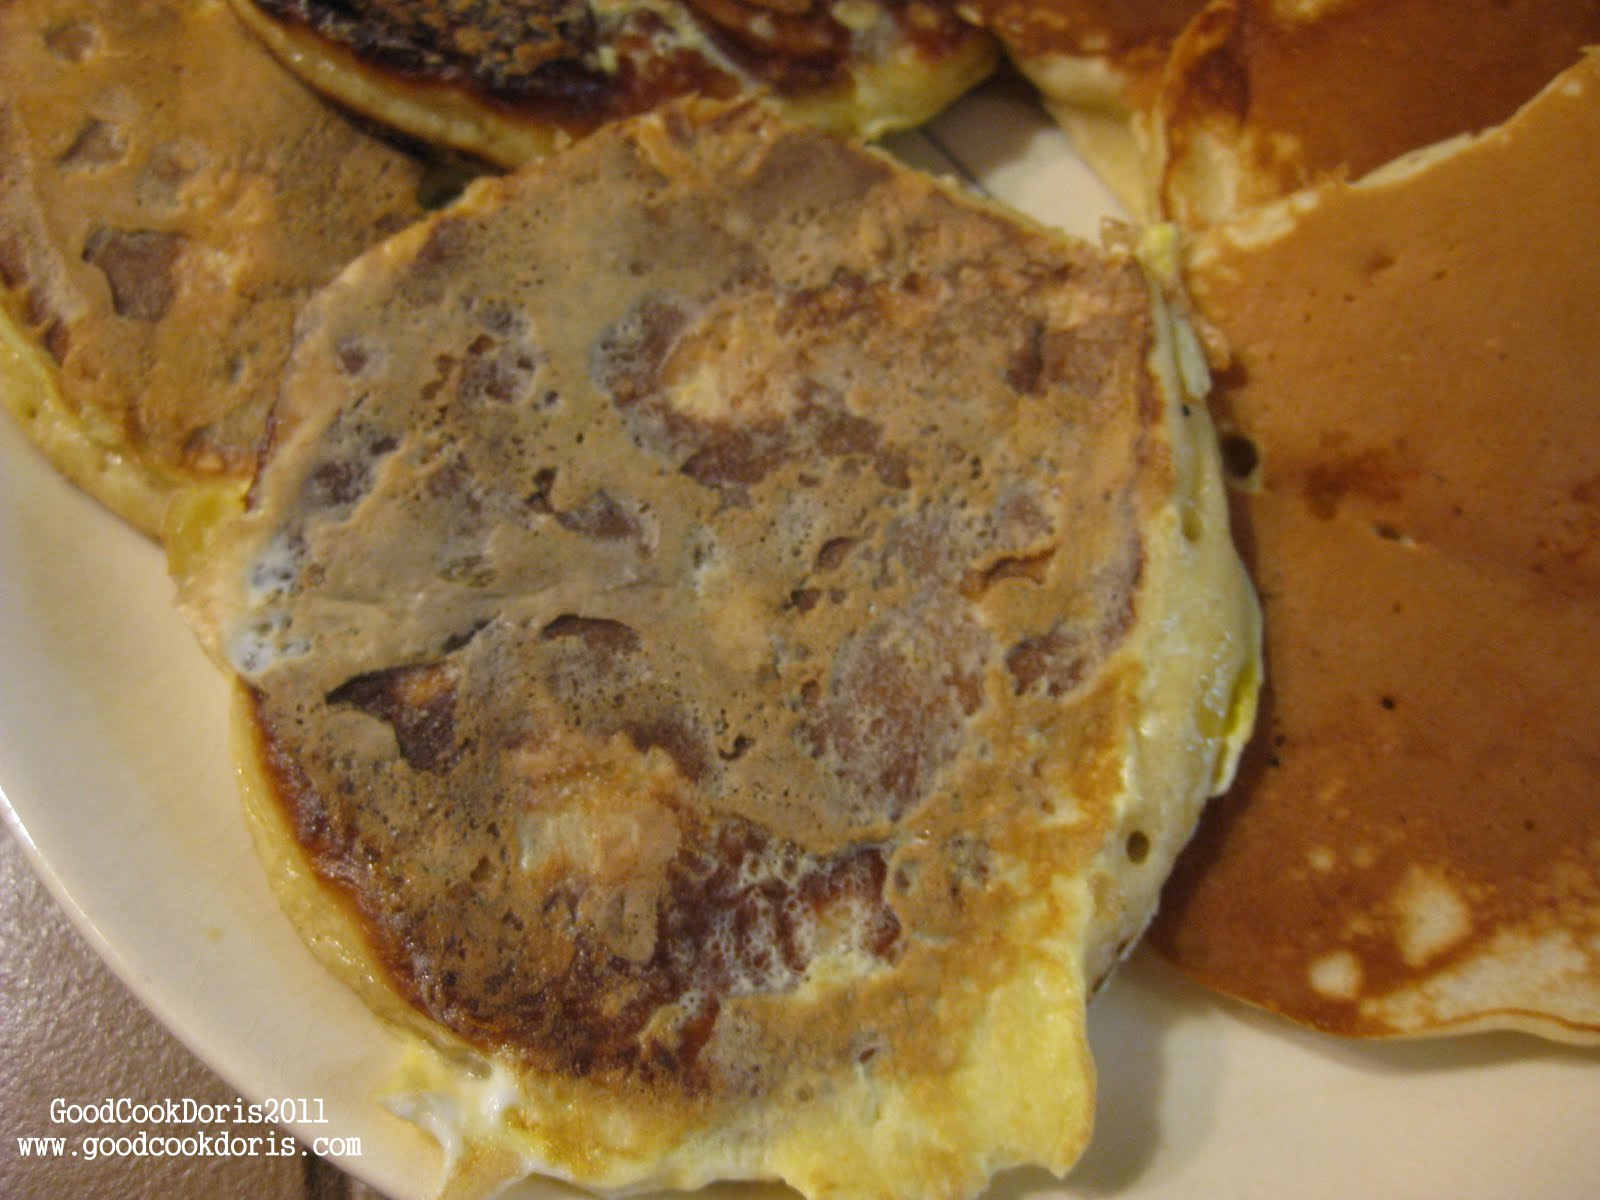
P.S. The brioche came out fantastic too! I've been enjoying it for breakfast all week with a little goat cheese and a fried egg.

Feeling a little over-sugared after that post? Don't forget to enter the MultiGrain Cheerios giveaway! Winner announced next week on Healthy Snack Wednesday!

LinkWithin

Related Posts with Thumbnails